
Roughing in plumbing is the pre-drywall stage of a renovation when drain-waste-vent lines and water supplies are installed to code-defined locations. In The Meadows, this phase determines inspection success, fixture alignment, and long-term performance—get it right now to prevent hidden leaks, mold risks, and costly rework later.
By Sandeep Singh, SSJ Construction & Renovations • Last updated: 2026-07-01
Hero: Rough-In Plumbing Services for The Meadows
Rough-in plumbing builds the backbone of your bathroom, kitchen, or suite. We install drains, vents, and water lines to pass inspection the first time, protect finishes, and avoid rework. Our licensed team coordinates plumbing with framing, electrical, and HVAC so every trade stays on schedule.
As a licensed and insured Edmonton renovator, SSJ Construction & Renovations treats rough-ins as mission-critical. Our crews map fixture centers, pipe routes, and vent paths before a single cut—so stubs land where vanities, tiles, and cabinets expect them. That’s how we keep your project on time and on budget without surprises.
Introduction: Why rough-ins matter in renovations
Rough-ins set pipe sizing, slopes, and venting long before tile or cabinets appear. Done right, you get quiet drains, steady water pressure, and clean finishes. Done poorly, you face gurgling traps, slow drains, drywall repairs, and inspection delays.
Here’s the thing—once walls close, small errors snowball. A misaligned stub can force a vanity notch or a last-minute tile change. A missing vent can cause slow drains and sewer gas smells. We prevent all of it by verifying roughing in plumbing against design, code, and inspector expectations.
Quick Summary
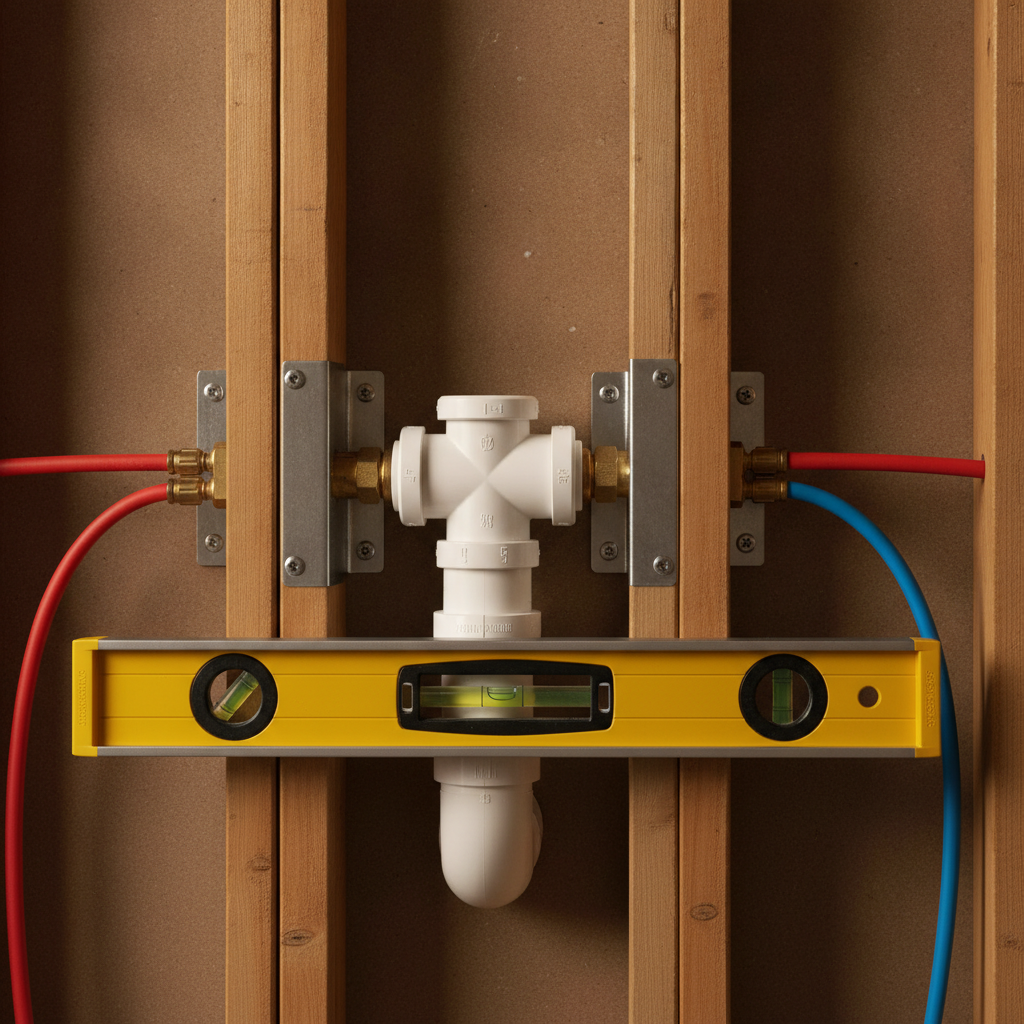
Rough-in plumbing lays hidden infrastructure—DWV and water lines—before drywall. Expect layout, drilling or trenching, pipe fitting, pressure and leak tests, then inspection. When we get it right, finishes start immediately and you avoid rework, moisture risks, and blown schedules.
- Scope covered: DWV layout, water supply runs, nail plates, fire stopping, tests, and inspection coordination.
- Typical use cases: basement bathrooms and bars, kitchen moves, laundry additions, garage/garden suites, and commercial tenant improvements.
- Key metrics: 1/4 inch per foot drain slope on most 2–3 inch lines; isolation valves for every branch; documented tests for sign-off.
Local considerations for The Meadows
- Basement baths near Silver Berry Park often route DWV through engineered joists; we use proper boring patterns and nail plates to preserve ratings.
- Edmonton winters demand interior shutoffs and insulation at rim joists so hose bibs and supplies don’t freeze during cold snaps.
- Families around Laurel Park appreciate quiet work windows; we schedule coring and shutoffs to minimize disruption.
What is rough-in plumbing?
Rough-in plumbing is the pre-finish, inspection-ready installation of drain-waste-vent pipes and water lines to the exact locations your fixtures will need. It locks in slopes, vent distances, and pipe sizes so drywall and tile can proceed confidently.
Think of it as the blueprint made real: a 12-inch toilet rough-in from the finished wall, a centered shower drain within the pan, and a vented lavatory tailpiece that won’t gurgle. We align stubs with cabinet drawings, tile layout, and flooring transitions so your finishes look custom—not forced.
- DWV layout: main stacks, branch lines, cleanouts, and vent ties installed with consistent slope.
- Water supply: PEX home runs or trunk-and-branch layouts with isolation valves for maintenance.
- Verification: air or water pressure tests; standing water tests on drains; photo documentation before cover-up.
Rough-in services we offer
We deliver complete rough-in packages for basements, bathrooms, kitchens, laundry rooms, and secondary suites. SSJ handles layout, coring, trenching, DWV and water installation, fixture center checks, testing, and inspection—integrated with framing, electrical, flooring, and painting.
Because we’re a full-scope renovator, you won’t juggle trades. Our plumbers coordinate with our carpenters and electricians, which eliminates finger-pointing and compresses timelines. For homeowners, that means one accountable lead and a smoother path to completion.
- Basement developments: full bathrooms, wet bars, laundry additions, and sump connections tied to finishing plans.
- Kitchen remodels: sink relocations, dishwasher lines, fridge water, island venting, and under-slab runs where needed.
- Garage/garden suites: new stacks, vent terminations, and code-to-main tie-ins engineered for proper slope.
- Commercial improvements: staff washrooms, break rooms, and mop sinks planned with access and cleanouts.
- Interior finishing integration: we protect new piping during drywall, flooring, and cabinet installs.
For a homeowner-friendly overview of bathroom planning that dovetails with rough-ins, this bathroom plumbing guide offers sequencing ideas you can discuss with our team.
Our rough-in process (step-by-step)
Our process aligns design, code, and schedule: verify drawings, snap layout lines, cut or trench thoughtfully, install DWV and supplies, perform pressure and standing tests, document, and call inspection. We stage materials and sequence trades so finishes start right after approval.
- Plan and layout: confirm fixture centers (e.g., 12" toilet rough-in), vent routes, and cabinet/tile clearances.
- Openings: core-drill within structural limits; trench slabs cleanly with dust control and restoration plans.
- Install DWV: maintain 1/4" per foot slope on most 2–3" lines; solvent-weld joints and add accessible cleanouts.
- Install water lines: PEX with isolation valves; correct stub heights (e.g., 19" lavatory, 48" shower).
- Protection: nail plates on bore zones; fire caulk at penetrations; acoustic wrap where sound control matters.
- Testing: pressure test supplies; fill DWV for standing tests; photo-document every run and cleanout.
- Inspection and handoff: address notes same day; share as-builts so drywall, tile, and cabinets align perfectly.
| Task | Primary owner | Inspection point |
|---|---|---|
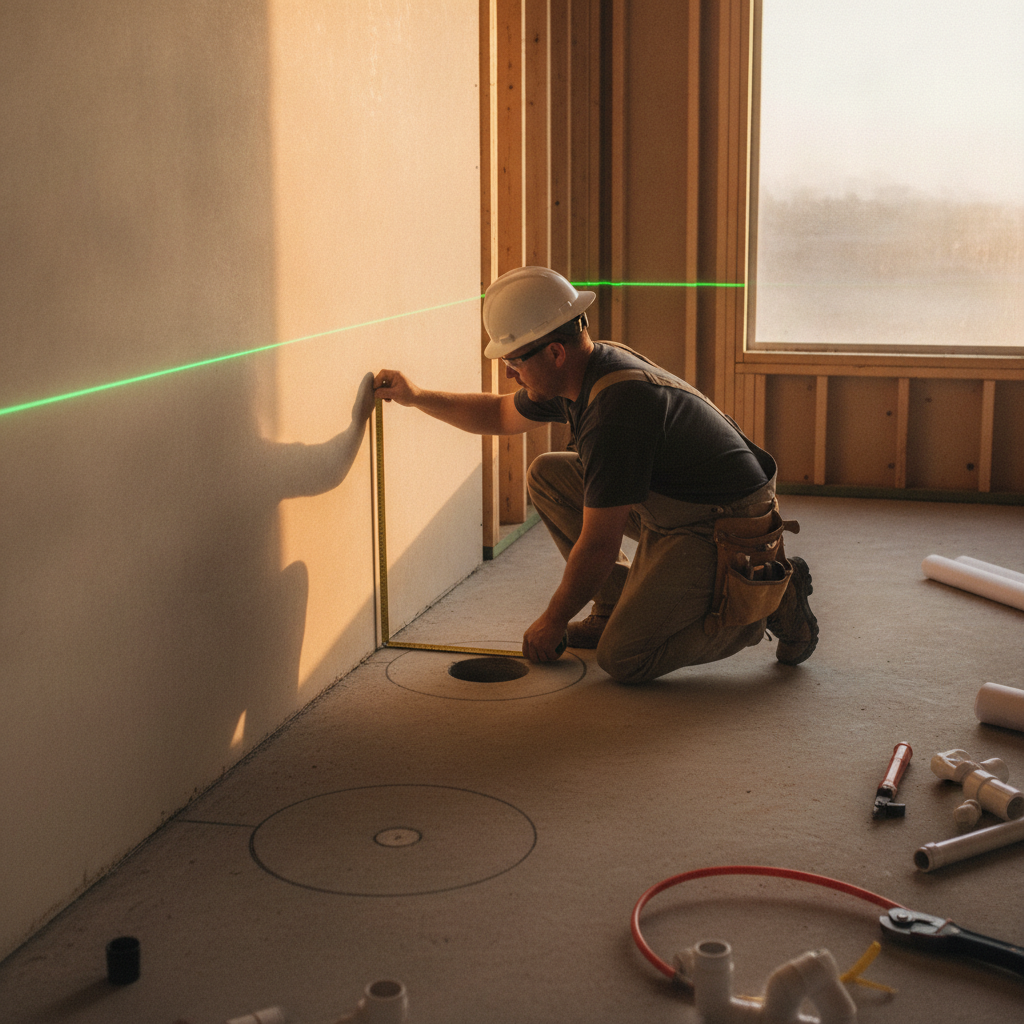
| Layout & marking | SSJ site lead | Fixture spacing and vent route verified |
| DWV installation | Licensed plumber | Pipe sizing, slope, cleanouts accessible |
| Water supply install | Licensed plumber | Isolation valves and pressure test |
| Framing coordination | Carpentry team | Boring/notching limits protected |
| Electrical coordination | Journeyperson electrician | Clearances and penetrations |
| Inspection | Municipal authority | Pass to proceed with insulation/drywall |
Pricing: What drives investment (no surprises)
We don’t post numbers, but we do explain drivers. Scope, access, slab trenching, fixture count, vent paths, and inspection logistics shape the investment. Our transparent, line‑item estimates reflect the real work so there are no gotchas mid‑project.
Here’s how to keep roughing in plumbing efficient and value-forward:
- Group fixtures smartly: shorter runs and shared vents reduce complexity and wall/ceiling patching later.
- Minimize slab trenching: where possible, route through joist bays and plan shower/toilet positions early.
- Lock decisions early: final fixture choices prevent rework on centers, heights, and connections.
- Plan inspection windows: aligning with inspector availability keeps drywall on track.
Planning factors that impact rough-ins
Scope, distances, and structure drive planning. Long fixture runs may need upsizing or added venting, slab work adds restoration steps, and finish selections influence stub heights and centers. Smart planning reduces friction and preserves your schedule.
We build a simple matrix on day one: fixture list, centerlines, heights, pipe sizes, and vent routes. That document steers every cut. For context on broader renovation sequencing, this renovation timeline overview helps homeowners visualize how plumbing rough-ins fit into the bigger picture.
- Future-proofing: add isolation valves and capped tees for easy upgrades.
- Moisture control: plan for trap primers at floor drains to avoid dry traps and odors.
- Noise reduction: acoustic wrap on stacks and branch lines in sensitive walls (nurseries, home offices).
Code and inspection essentials
Passing inspection starts with correct pipe sizing, slope, venting, protection, and documented testing. Clean access to cleanouts and clear labeling help inspectors move fast so insulation and drywall can begin right after approval.
Common inspection checks include slope on horizontal drains, vent distances from traps, cleanout accessibility, proper fire-stopping, and evidence of leak-free tests. For a practical look at commercial drain rough-ins that echoes many residential principles, see this brief drain line rough-in overview.
- 2–3 inch horizontal drains generally run at 1/4 inch per foot; larger mains may run at 1/8 inch per foot.
- Trap primers at floor drains keep water seals intact in low-use spaces.
- Nail plates protect bores from drywall screws and finish nails after cover-up.
- Photographing every line and valve location speeds future maintenance and remodels.
Common rough-in mistakes to avoid
Most failures trace to poor layout, wrong slopes, missing vents, or rushing past tests. A disciplined checklist and cross-trade coordination eliminate these pitfalls and keep your finish schedule intact.
- Under-vented fixtures that gurgle or drain slowly.
- Incorrect slope creating standing water in horizontal runs.
- Stub-outs that clash with vanities, toe-kicks, or tile patterns.
- Skipping nail plates leading to hidden punctures post-drywall.
- Closing walls before pressure and standing tests pass.
When we rough‑in, every run is measured twice: centers, heights, slopes, and vent ties. Then we test and photograph. That cadence turns inspection day into a non‑event.
Why choose SSJ for rough‑in plumbing
We’re a local, licensed, and insured Edmonton team that stakes our reputation on clean, inspection‑ready rough‑ins. Owner‑led oversight, transparent communication, and tight trade coordination deliver predictable outcomes.
- Local expertise: deep familiarity with Edmonton inspections and seasonal considerations.
- One accountable team: plumbing, framing, electrical, drywall, flooring, and painting under one roof.
- Transparent process: daily updates, documented tests, and as‑builts for your records.
- Satisfaction guaranteed: we stand behind our workmanship and coordination.
In our experience, the fastest projects share the same DNA: early decisions, precise layout, and clean documentation. That’s the SSJ way.
Service area: The Meadows and greater Edmonton
We serve The Meadows and neighborhoods throughout Edmonton. Our crews understand typical framing specs, venting constraints, and seasonal freeze risks that affect hose bibs and exterior walls across the region.
Whether you’re finishing a basement, adding a bathroom, relocating a kitchen, or building a garage suite, we bring the same disciplined approach: plan thoroughly, protect structure, install precisely, test rigorously, and document clearly for inspectors and future maintenance.
Need help planning your rough‑in?
Schedule a 30‑minute planning call. We’ll review drawings, walk the space, and outline the cleanest code path for drains, vents, and water lines—so inspection day is a formality and finishes start on time.
Bring your fixture list and photos. We’ll bring laser levels, tapes, and a checklist to confirm centers, slopes, and vents before any cuts are made.
Client testimonials
Clients call out our reliability, communication, and on‑schedule delivery. They also note how clean we keep homes during invasive work like trenching or coring—details that make living through a reno easier.
- “SSJ coordinated plumbing with framing and electrical so our secondary suite passed inspection in one visit.”
- “They mapped the bathroom rough-in around existing beams—no surprises when tile went in.”
- “Daily updates and spotless cleanup made a huge difference during our basement development.”
Frequently Asked Questions
Homeowners ask most about timing, inspections, and prep. These fast answers will help you get ready and keep the schedule tight.
What does rough‑in plumbing include?
It includes layout, drilling or trenching, installing drain‑waste‑vent pipes and water supply lines, pressure and leak testing, and inspection coordination. Fixtures and finishes come after the rough‑in passes.
How long does a typical rough‑in take?
Small bathrooms can rough‑in in a few workdays once access is clear; full basements with multiple fixtures take longer. Duration depends on slab trenching, vent routing, and inspection availability.
Do I need to be home during the rough‑in?
Not for the whole process, but we’ll coordinate brief water shutoffs and the inspection window. We protect floors, isolate work zones, and send daily updates so you always know what’s next.
What happens if the inspection finds an issue?
We correct items promptly, retest if needed, and document the fix. Our pre‑inspection checklists and as‑built photos minimize rework and speed sign‑off.
Key takeaways
Precise layout, correct slopes and venting, and thorough testing protect your finishes and schedule. Get those right, and rough‑in inspections become a formality.
- Map fixture centers and heights before cuts.
- Maintain proper slopes and vent distances for quiet, fast drains.
- Test and document every run to accelerate inspection and future service.
Ready to rough‑in right?
Set up a quick assessment for your basement, bath, or kitchen project in The Meadows. We’ll confirm code paths, map centers, and deliver a clean, inspection‑ready rough‑in that keeps finishes on schedule.
Book a friendly walk‑through today. Bring inspiration photos and fixture notes—we’ll bring the plan that prevents rework.
