
Interior painting is the professional preparation and application of coatings to interior walls, ceilings, and trim to protect surfaces and refresh style. Proper prep, the right primer, and two finish coats yield durable results. At 3015 21 Ave NW in Edmonton, SSJ Construction & Renovations delivers detail‑driven interior painting as part of complete home makeovers.
By Sandeep Singh • Last updated: June 22, 2026
Quick Summary
This guide breaks down interior painting from planning through cleanup. You’ll learn how to choose finishes, prep like a pro, avoid streaks, and time your project for Edmonton’s seasons. Use the checklists, tables, and step‑by‑step methods below to paint faster, cleaner, and with longer‑lasting results.
Painting a room seems simple, but consistency and durability come from disciplined prep and sequencing. In our experience renovating Edmonton homes, the fastest way to a flawless finish is to slow down on surface prep and move quickly once paint hits the wall.
- What interior painting is and why it matters for resale, air quality, and style
- How to plan colors, sheens, and primer for your specific room
- Step‑by‑step workflow SSJ uses on Edmonton projects
- Best practices that prevent lap marks, flashing, and early failure
- Tools pros actually use—and when to upgrade
- Local timing tips for The Meadows and broader Edmonton area
Table of contents
- What is interior painting?
- Why interior painting matters
- How interior painting works (step‑by‑step)
- Types, methods, and finishes
- Best practices we use
- Tools and resources
- Case studies and real examples
- Interior painting in Edmonton: local tips
- Finish comparison table
- FAQ
- Key takeaways
- Conclusion and next steps
What Is Interior Painting?
Interior painting is the systematic preparation and coating of walls, ceilings, trim, and doors using primer and finish paint to protect surfaces and achieve a desired look. Quality results come from clean substrates, correct primers, consistent mil thickness, and proper cure times between coats.
At SSJ Construction & Renovations, we deliver interior painting as part of larger home renovation scopes—kitchens, basements, flooring upgrades, electrical corrections, and drywall repair. Painting is often the highest‑impact, lowest‑disruption stage of a home makeover because color resets how spaces feel and function.
Core elements
- Substrate prep: cleaning, degreasing, sanding, filling, and caulking.
- Priming: stain‑blocking, bonding, or drywall primers matched to surface.
- Finish coats: typically two coats at 3–4 mils wet film thickness.
- Edges and details: crisp cut lines, back‑rolling, and trim smoothing.
- Cure and protect: respect recoat windows (often 2–4 hours to touch; longer for cure).
Why it matters: correct coating systems extend repaint cycles by years, resist stains, and clean easier. For busy families, that’s less maintenance and more time enjoying the space.
Why Interior Painting Matters
Interior painting improves air quality with low‑VOC paints, elevates perceived home value, and protects drywall and trim from wear. The right sheen resists scuffs, reduces cleaning time, and keeps rooms brighter by reflecting light evenly.
Fresh paint transforms how a room reads on first impression. Lighter neutrals can make a 10×12 bedroom feel larger, while a satin trim system improves durability on door casings touched dozens of times daily. We’ve found that a disciplined repaint tightens up an entire renovation—especially when coordinated with new flooring or lighting.
- Longevity: Two finish coats over proper primer often extend repaint intervals to 5–7+ years in normal traffic rooms.
- Cleanability: Satin and semi‑gloss in high‑touch zones stand up to frequent wipe‑downs.
- Light performance: Matching sheen across a wall prevents flashing and hot spots, improving daylighting.
- Psychology: Calm, balanced palettes support focus and rest; bold accents energize task areas.
Small choices—like eggshell in living areas and satin on trim—add up to measurable maintenance savings over time because fewer touch‑ups are needed.
How Interior Painting Works (Step‑by‑Step)
A pro workflow runs plan → protect → prep → prime → paint → punch. Each phase has distinct tasks: sample colors, mask surfaces, repair and sand, spot or full‑prime, cut and roll two finish coats, then inspect and touch up under consistent light.
Below is the sequence our crews follow on Edmonton residential projects. It keeps sites clean, speeds production, and produces uniform results across rooms.
1) Plan and sample
- Define scope: walls, ceilings, trim, doors, built‑ins.
- Pick palette: 1–3 core colors; test 12×12 samples on two walls.
- Select sheen: flat/eggshell for walls, satin/semi‑gloss for trim/doors.
- Decide schedule: sequence empty rooms first to free storage space.
2) Protect and stage
- Move furniture center; cover with plastic and canvas drops.
- Mask baseboards, casings, and hardware with painter’s tape.
- Set up cut station: angled brushes, buckets, and rags within reach.
3) Prep surfaces
- Wash greasy walls with TSP‑alternative; rinse thoroughly.
- Fill holes with lightweight compound; sand smooth to P180–P220.
- Feather glossy areas; scuff sand trim for better adhesion.
- Vacuum dust; tack cloth before priming.
4) Prime where needed
- Spot‑prime patches and stains; full‑prime new drywall or dramatic color changes.
- Use bonding primer on glossy or hard‑to‑paint surfaces.
5) Paint efficiently
- Cut edges first with a 2–2.5 inch angled brush.
- Roll walls in 3×3 foot sections, keeping a wet edge.
- Back‑roll ceilings after spraying to equalize texture.
- Apply two uniform coats; respect recoat windows.
6) Punch, cure, and clean
- Inspect at eye level with consistent lighting; mark minor holidays and sags.
- Remove tape at 45° while paint is tack‑free for crisp lines.
- Reinstall plates and hardware; wait several days before heavy cleaning.
Most rooms require 1 primer coat and 2 finish coats. A standard gallon covers roughly 350–400 square feet per coat under normal conditions.
Types, Methods, and Finishes
Choose paint by resin type, sheen, and room use. Latex (water‑based) dominates interiors for low odor and easy cleanup. Use flat/eggshell on walls, satin/semi‑gloss on trim and doors, and specialty primers for stains or glossy surfaces.
Common interior paint types
- Latex/acrylic: Low odor, fast recoat, good color retention.
- Alkyd water‑borne: Trim‑grade durability with soap‑and‑water cleanup.
- Oil‑based (select uses): Specialty blocking and leveling where permitted.
Popular sheens and where they shine
- Flat: Hides minor drywall flaws; best on ceilings and low‑touch walls.
- Matte/Eggshell: Balanced look with gentle washability for living rooms and bedrooms.
- Satin: Scrub‑friendly for hallways, kids’ rooms, and kitchens.
- Semi‑gloss: Hardwearing on trim, doors, and built‑ins.
Application methods
- Cut and roll: Most controllable for occupied homes; yields consistent texture.
- Airless spray + back‑roll: Ideal for ceilings and new construction; evens out stipple.
- Mini‑rollers/foam tools: Tight spaces, cabinets, and doors to reduce brush marks.
Tip: Maintain consistent sheen from wall to wall and batch cans (box your paint) for uniform color across rooms.
Best Practices We Use
Pro results come from relentless prep, controlled lighting, and sequencing. Clean, sand, and prime properly; maintain a wet edge; and verify coverage with cross‑lighting before final cleanup. Document colors and sheens so future touch‑ups match.
After hundreds of repaint rooms, here are habits that reliably pay off:
- Light the work: Use a raking light to expose roller lines and missed spots.
- Box your paint: Mix gallons into a single bucket to eliminate small color shifts.
- Keep a wet edge: Work in W‑patterns and overlap passes by 30–50%.
- Respect cure times: Many paints are dry to touch in 1–2 hours but need days to cure hard.
- Label everything: Record color, code, brand, and sheen on the back of a switch plate.
- Sequence smartly: Ceilings → walls → trim → doors to minimize rework.
When painting is part of a larger renovation, we coordinate with our in‑house flooring, plumbing, and electrical teams to avoid rework—paint after drywall and before final fixtures, then do a trim‑and‑touch pass at the end.
Tools and Resources
Quality tools save time and improve finish. Use a 2–2.5 inch angled brush, 9‑inch roller frames with 3/8–1/2 inch naps, sturdy extension poles, and reliable drop cloths. Add a raking light, shop vac, and sanding sponges to speed prep and punch‑list work.
We maintain a standard kit for SSJ crews. It balances pro‑grade performance with easy upkeep in lived‑in homes.
Essential kit
- Angled sash brushes (nylon/polyester), 2–2.5 inch
- 9‑inch roller frames; 3/8–1/2 inch shed‑resistant covers
- Extension pole (2–4 ft) and sturdy step ladder
- Plastic and canvas drops; masking paper and painter’s tape
- Caulk gun, spackling knives (2, 4, 6 inch), sanding sponges
- Shop vac with HEPA bag; clean microfiber cloths
For a deeper tool dive, see this practical take on essential painting tools and how they perform in varying conditions. If you’re comparing specialty techniques for cabinet finishes, this overview of kitchen respraying methods explains equipment differences and surface prep.
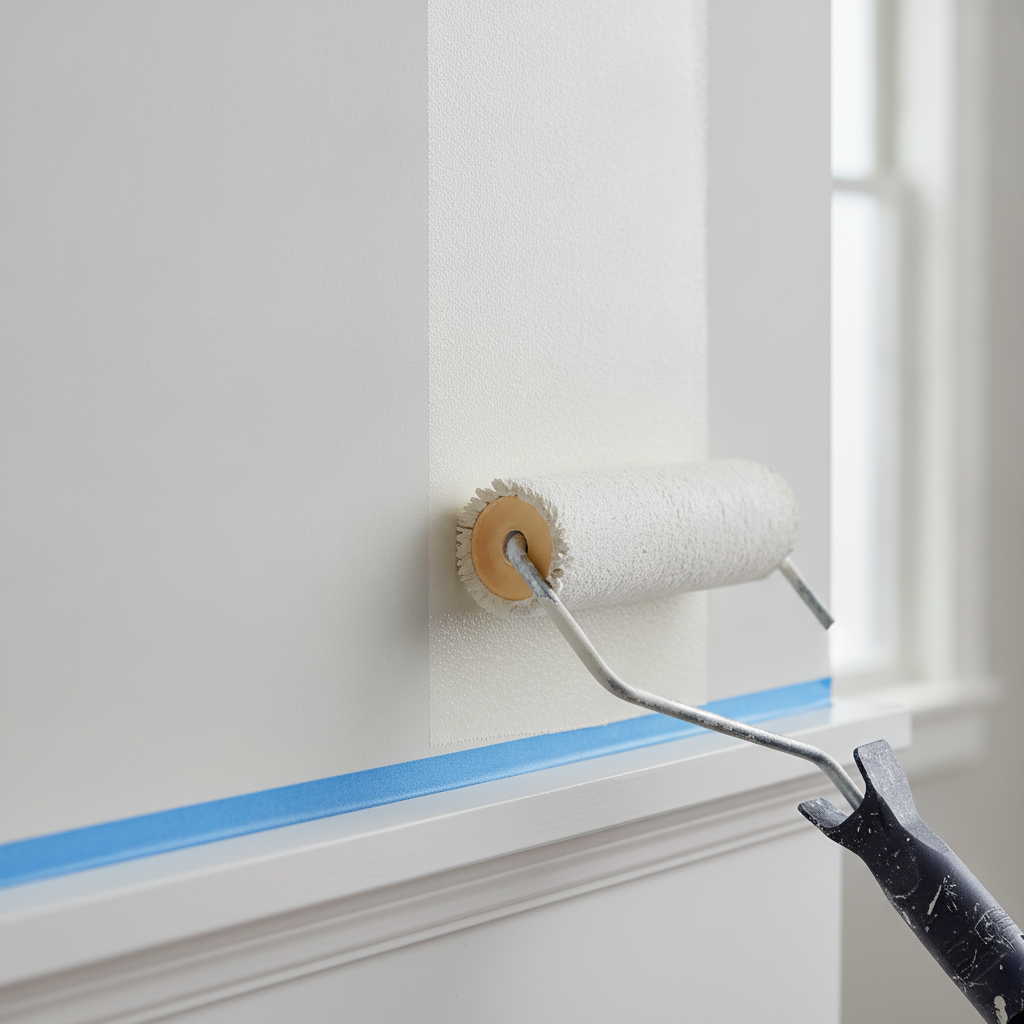
Pro tip: keep a tight “cut bucket” with 10–12 oz of paint. It’s easier to handle, reduces drips, and helps maintain a steady hand on long ceiling lines.
Case Studies and Real Examples
Tight coordination and disciplined prep create repeatable results. In practice, that means testing colors onsite, repairing drywall thoroughly, and sequencing paint between other trades so new fixtures and flooring stay pristine.
Example 1: The Meadows family room refresh
- Scope: 350 sq ft family room; walls and ceiling; existing trim.
- Approach: Wash, patch, full prime over deep color, two eggshell coats.
- Outcome: Brighter space with fewer visible seams; trim touch‑up revived door frames.
We scheduled painting just after drywall corrections and before new flooring. That sequencing prevented dust contamination and avoided paint splatter on fresh planks.
Example 2: Basement finishing in southeast Edmonton
- Scope: New drywall, ceilings, doors, and trim as part of full basement build.
- Approach: Spray prime and back‑roll; cut and roll walls; satin on doors and trim.
- Outcome: Uniform texture with durable trim finish ideal for high‑traffic stairs.
Basements benefit from lighter neutrals that reflect limited daylight and from scrubbable sheens on stairwells and play areas.
Example 3: Retail fitting room repaint during a commercial refresh
- Scope: Four fitting rooms and corridor; open hours maintained.
- Approach: Night work; odor‑controlled paints; rapid recoat windows.
- Outcome: Zero interruption to sales; scuff‑resistant walls reduced daily touch‑ups.
Coordinating with store hours and security ensured a clean handoff each morning. That’s the advantage of working with a renovation contractor comfortable in both homes and commercial spaces.
Interior Painting in Edmonton: Local Tips
For The Meadows and greater Edmonton, plan interior painting around humidity swings and winter dry spells. Ventilate gently in cold months, use low‑VOC paints, and extend dry times when indoor humidity exceeds 50% to prevent flashing and adhesion issues.
Neighborhood homes in The Meadows vary from new builds to maturing properties with settled drywall. Each demands a slightly different prep strategy, especially at inside corners and window returns.
Local considerations for The Meadows
- Time projects to shoulder seasons when windows can crack open safely; nearby Laurel Park winds can raise dust—keep intake filters clean.
- Winter dryness can cause faster surface drying; keep a modest humidifier running to improve leveling.
- High‑touch mudroom walls near entryways benefit from satin or semi‑gloss to resist scuffs from outdoor gear after visits to Silver Berry Park.
If you want help sequencing a repaint with other upgrades, our local team is nearby and responsive from our base at 3015 21 Ave NW. Start a quick request on our service request page and we’ll plan around your calendar.
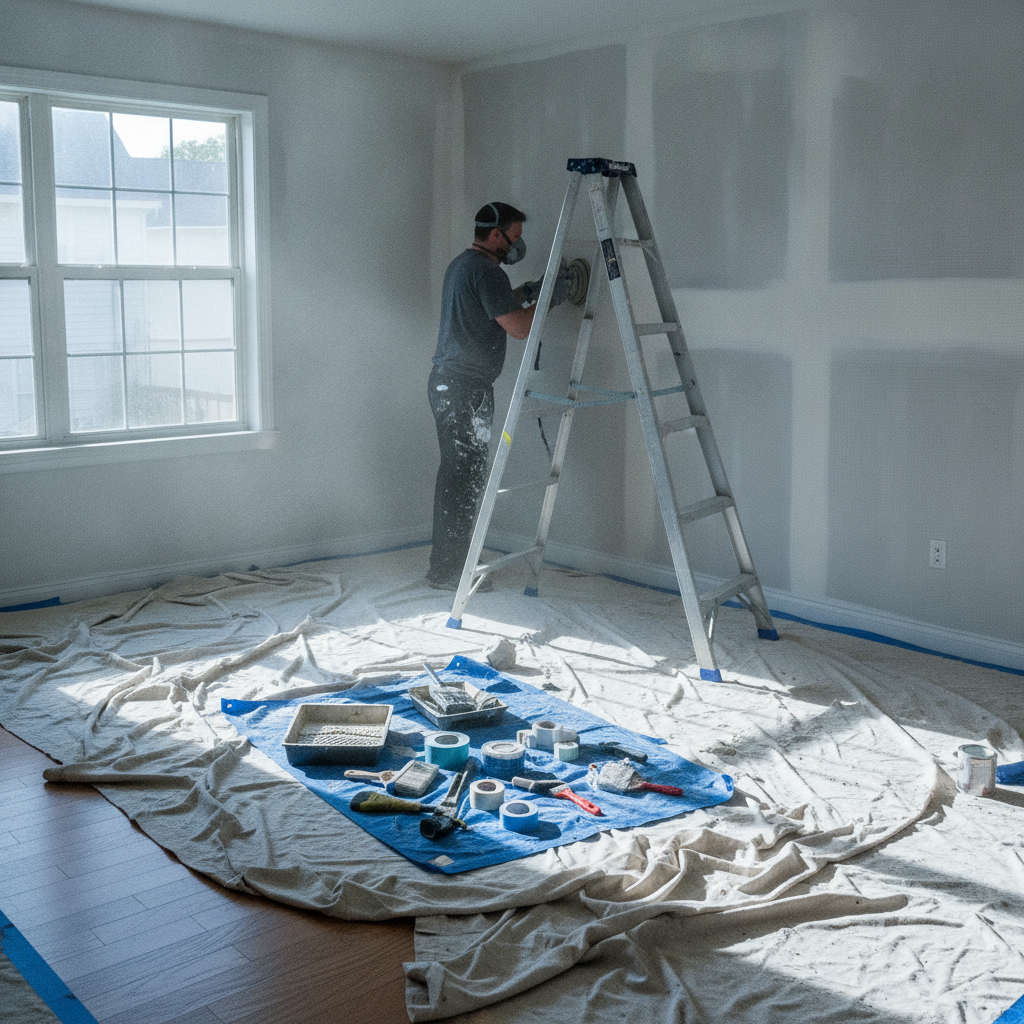
Finish Comparison Table
Match sheen to room function: flat for ceilings, eggshell for living spaces, satin for high‑traffic walls, and semi‑gloss for trim and doors. The right pairing reduces touch‑ups and keeps walls looking newer between deep cleans.
| Finish | Best for | Durability | Cleanability | Notes |
|---|---|---|---|---|
| Flat | Ceilings, low‑touch walls | Low–Medium | Low | Excellent flaw‑hiding; shows burnish if scrubbed |
| Eggshell | Living rooms, bedrooms | Medium | Medium | Balanced look; forgiving for most walls |
| Satin | Halls, kitchens, kids’ rooms | Medium–High | High | Great for wipe‑downs and frequent contact |
| Semi‑gloss | Trim, doors, built‑ins | High | High | Hardwearing; prep matters to avoid telegraphing flaws |
Need a Hand With Prep or a Whole‑Home Refresh?
From drywall repair to final touch‑ups, SSJ Construction & Renovations coordinates painting with flooring, plumbing, and electrical so you get a smooth, on‑schedule finish. Share your goals and we’ll map a clean, low‑disruption plan.
If you’d rather not live with plastic and dust, we’ll handle the logistics. Start here: request service and timing. You can also browse our latest site updates on the home page and check the blog category feed for renovation tips.
Frequently Asked Questions
Most painting questions come down to prep, primer, sheen, and timing. These quick answers cover the top points homeowners ask before we start a project in Edmonton.
How many coats do I need on interior walls?
Plan for one coat of primer when needed and two finish coats for even color and durability. Deep color changes or porous new drywall benefit from full priming before two topcoats to prevent flashing and show‑through.
What’s the best sheen for high‑traffic areas?
Satin typically balances durability and look in hallways, kitchens, and kids’ rooms. For trim and doors that see frequent touches, use semi‑gloss. Keep sheens consistent on adjacent walls to avoid visible sheen changes.
How long should I wait between coats?
Most modern interior paints are ready for recoat in 2–4 hours under normal conditions. In humid rooms or colder weather, extend that window and verify by a light fingertip test—paint should feel dry and not tacky.
Should I paint before or after new flooring?
Paint before installing new flooring when possible. It reduces protection time, avoids splatter on fresh planks, and lets painters move ladders freely. Schedule a final trim‑and‑touch pass after flooring goes in.
Related Articles
Expanding your project? Pair interior painting with complementary upgrades like flooring, lighting, or basement finishing. Coordinated scopes reduce disruption and produce a more unified result across your home.
- Coordinate paint with new flooring installation for a seamless look across sightlines and thresholds.
- Bundle drywall repair and electrical updates before painting to minimize dust and rework.
- Plan a home makeover in phases: ceilings and walls first, then trim, then fixtures and decor.
For more home renovation ideas that work with interior painting, our team posts periodic updates on the SSJ website. You can also see a simple site post here: hello world example. If you prefer browsing by category, visit the current category feed.
Key Takeaways
Prep thoroughly, choose sheens by room function, and work in a tight sequence. Two finish coats over appropriate primer, plus clean edges and good lighting, deliver professional results that last in active Edmonton homes.
- Interior painting success starts with cleaning, patching, sanding, and the right primer.
- Match sheen to traffic: eggshell walls for living spaces; satin for high‑touch; semi‑gloss for trim.
- Maintain a wet edge and consistent lighting to prevent flashing and lap marks.
- Coordinate painting timing with flooring, plumbing, and electrical work.
- Document product and color codes for easy future touch‑ups.
Conclusion and Next Steps
A clean, durable interior paint job requires disciplined prep and sequencing. If you want a faster path to pro‑grade results, bring in a licensed team that coordinates painting with other trades and stands behind the finish.
Interior painting is one of the most effective ways to refresh a home. If you’re ready to pair color updates with broader renovations, our Edmonton crew can help—from basement finishing to trim carpentry and final punch. Start the conversation on our service request page or learn more about us on the SSJ home page. For industry snapshots and vendor directories, you can explore this painting directory profile for perspective.
If you enjoy researching methods and tools, this brief guide on essential painting tools and this overview of cabinet respraying approaches provide additional context for technique and equipment selection.
