
Before-and-after renovation photos are paired images that document a space before work starts and after completion. They provide clear visual proof of transformation, help homeowners in The Meadows understand scope and quality, and make it easier to compare finishes, layouts, and craftsmanship. Used well, they become a powerful decision and storytelling tool.
By Sandeep Singh — SSJ Construction & Renovations
Last updated: 2026-06-26
Quick Summary: How to Use This Guide
This guide shows you how to plan, shoot, and organize before-and-after renovation photos like a pro. You’ll learn the shot list, lighting and staging tips, file workflows, and how SSJ Construction & Renovations builds a portfolio homeowners trust across Edmonton—including The Meadows neighborhood.
Use this article to plan your renovation photo story from first walk-through to final clean. You’ll find:
- Clear definitions of before-and-after sets and what makes them credible.
- Step-by-step workflows we use on real SSJ projects.
- Room-by-room shot lists for kitchens, basements, baths, and offices.
- Best practices for lighting, staging, angles, and safety.
- Organization systems that keep images searchable and shareable.
- Who it’s for: Homeowners, property managers, and business owners planning a remodel.
- What you’ll avoid: Missing angles, inconsistent lighting, and hard‑to‑find files.
- Outcome: A credible, polished visual record that shows real value.
What Are Before-and-After Renovation Photos?
Before-and-after renovation photos are matched image sets taken from the same positions, with similar framing and lighting, to document pre‑construction conditions and final results. Consistency is essential: identical vantage points make differences in layout, finishes, and craftsmanship obvious and trustworthy.
At SSJ Construction & Renovations, we treat every space like a long‑term investment. That mindset carries into our photography. To be credible, a “before” must reveal the real starting point, and an “after” must be staged, clean, and technically sharp so finishes are easy to evaluate.
Core elements of a trustworthy set
- Matching angles: Tripod height and lens choice consistent between shoots.
- Consistent light: Similar time of day or controlled artificial lighting.
- Clear subject: One room or feature per frame avoids visual clutter.
- Honest representation: No deceptive wide‑angle warping or heavy editing.
- Caption context: 1–2 lines note the goals (e.g., “opened wall, added 2 pendants”).
We’ve found that matched sets help clients see what changed at a glance—whether that’s a new kitchen layout, waterproofed basement with egress, or refreshed retail entry. They become a quick reference during walkthroughs and future planning.
Why These Photos Matter in Edmonton Renovations
Before-and-after images build trust, speed decisions, and create a lasting record of work performed. For homeowners in The Meadows, they reduce uncertainty by showing real results across kitchens, basements, baths, and offices completed by a licensed, insured local renovator.
Pictures anchor conversations. When you can point to a specific angle—“this wall was removed,” “these LVP planks replaced tile,” “new vanity added GFCI protection”—choices feel concrete. That clarity keeps projects moving and minimizes change orders triggered by misunderstandings.
- Decision speed: Visuals shorten back‑and‑forth during selections and approvals.
- Quality signal: Crisp photos showcase detail‑oriented craftsmanship our clients mention in testimonials.
- Documentation: A permanent record of layout, plumbing, and electrical locations helps future work.
- Portfolio power: Organized galleries help your family (or your strata/landlord) understand value.
- Community relevance: Edmonton’s light, seasons, and floor plans are reflected in local projects.
In our experience across Edmonton homes and commercial spaces, strong visuals cut meeting times and align expectations faster than any spec sheet. That is why we bake photo checkpoints into our renovation process.
How the Photo Process Works (Start to Finish)
Our photo workflow follows the build: document pre‑construction, capture progress milestones, and stage the final reveal. We use a tight shot list, consistent angles, and a file‑naming scheme so images are easy to compare, share, and reference later.
Here’s the repeatable system we use on SSJ projects. It scales from a powder room refresh to a full basement build.
Milestone-based shooting plan
- Pre‑construction: Wide corners, key features, problem areas; 8–12 images per room.
- Post‑demolition: Structure, joists, rough openings, subfloors, moisture issues.
- Rough‑in: Plumbing lines, electrical runs, box locations, HVAC placement.
- Pre‑close: Insulation, vapor barrier, blocking, fire stops, soundproofing.
- Finish: Flooring, paint, trim, cabinetry, fixtures, appliances, lighting.
- Final reveal: Staged, dust‑free, matched angles; 10–20 images per room.
Room-by-room baseline shot list
- Kitchen: Each wall elevation, island, sink run, cooktop/hood, pantry, key storage.
- Basement: Stairs, living area, bedrooms, bath, laundry, mechanical, egress windows.
- Bath: Vanity/mirror, tub/shower surround, niche, toilet area, exhaust, flooring.
- Office/Retail: Entry, reception, workstations, conference, storage, lighting runs.
Simple process table
| Stage | Primary Goal | Must‑Have Shots | Notes |
|---|---|---|---|
| Pre‑construction | Truthful baseline | 4 corners + features | Natural light if possible |
| Rough‑in | Hidden systems | Plumbing/electrical routes | Label images by wall |
| Finish | Craftsmanship | Trim, tile, cabinets | Tripod for consistency |
| Final reveal | Storytelling | Matched angles | Stage and clean |
We keep the gear modest and the system tight. That discipline—not fancy equipment—delivers credibility shot after shot.
Types and Approaches That Work
Use three complementary approaches: documentary sets for proof, styled reveals for inspiration, and technical progress photos for records. Together they cover emotion, function, and compliance—exactly what homeowners and property managers need to evaluate a renovation.
Documentary sets (proof)
- What: Matched, minimally styled before/after pairs.
- Why: Best for honest comparison and scope confirmation.
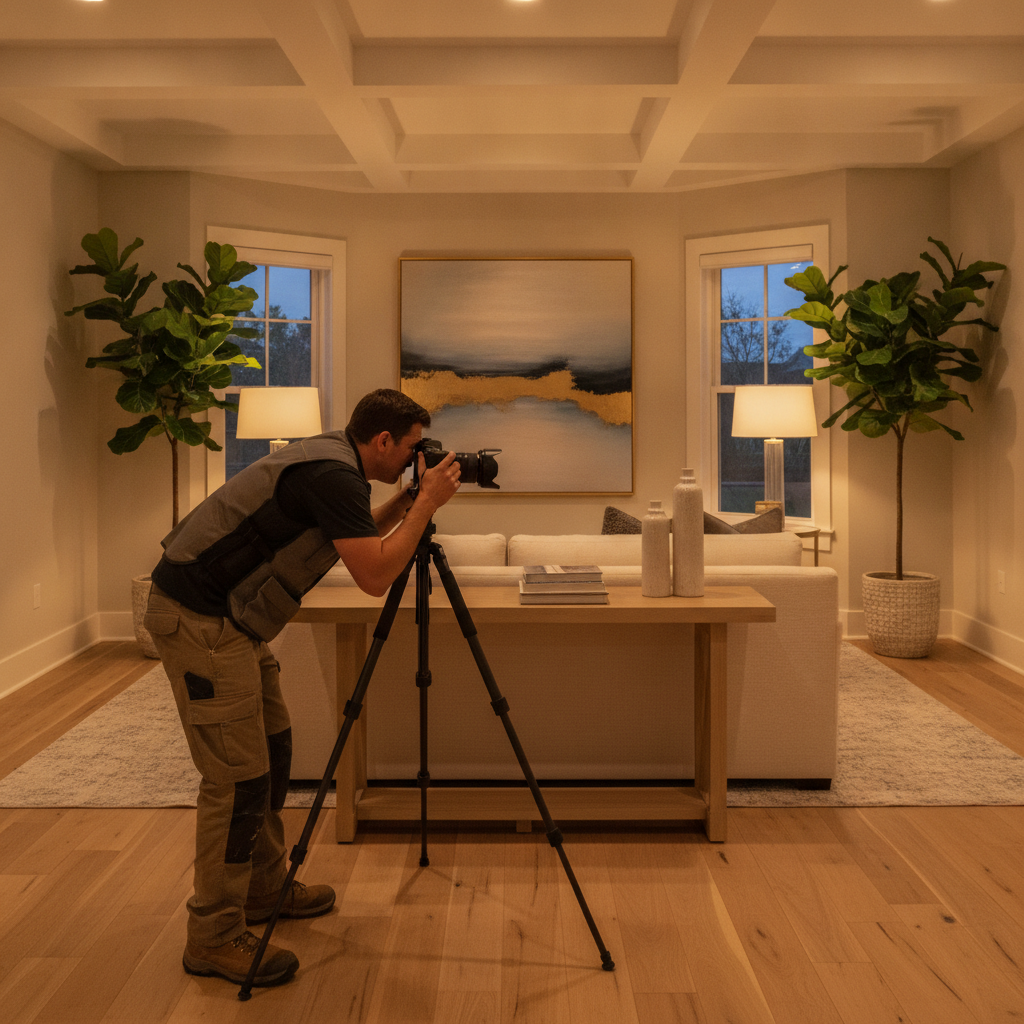
- How: Tripod at chest height, 24–35mm equivalent lens, level horizon.
Styled reveals (inspiration)
- What: Final cleaned spaces with light staging (plants, towels, bowls).
- Why: Helps your family imagine living in the space; great for social.
- How: Window light + accent lamps; remove cords, bins, and packaging.
Technical progress (records)
- What: Close‑ups of plumbing, electrical, blocking, and substrates.
- Why: A future‑proof map when planning upgrades or repairs.
- How: Phone + flash okay; label walls (N/S/E/W) in filenames.
On SSJ jobs, we combine all three. Owners get the inspiration they want and the documentation they need.
Best Practices for Consistent Results
Lock your angles, control light, and stage with intention. A fixed tripod height, repeatable camera settings, and a short staging checklist deliver the most reliable before-and-after renovation photos across every room type.
Camera and settings
- Tripod height: About 4.5–5 ft. Keep it consistent between shoots.
- Focal length: 24–35mm equivalent to minimize distortion indoors.
- Aperture: f/5.6–f/8 for edge‑to‑edge clarity.
- White balance: Set manually; avoid mixed color casts.
- Bracketed exposures: 3 frames if windows blow out highlights.
Lighting and staging
- Time of day: Aim for consistent natural light; supplement with lamps.
- Switches on: Turn on all fixtures to showcase new lighting design.
- Declutter: Hide tools, bins, cords, and brand packaging.
- Texture pop: Add 2–3 props that reveal scale (plant, cutting board, towel).
- Reflection watch: Check mirrors and glossy tile for unwanted reflections.
Editing discipline
- Straighten first: Keep verticals vertical; correct lens distortion.
- Color consistency: Match temperature and tint across the pair.
- Light touch: Avoid over‑saturation or blur that misrepresents finishes.
- Export pairs: Name files so “before” and “after” sort together.
Local considerations for The Meadows
- Shoot mid‑morning in east‑facing rooms to balance sun and shadows common near Silver Berry Park.
- Plan winter interiors around shorter daylight; stage with warm lamps to keep wood tones natural.
- Coordinate final cleans so dust doesn’t haze floors—especially after sanding and painting in tight townhouse footprints near Laurel Park.
Tools and Resources We Rely On
You don’t need a studio to get professional results. A sturdy tripod, a wide‑but‑honest lens, and a consistent editing workflow deliver crisp, comparable pairs that make renovations easy to evaluate and share.
Capture kit
- Tripod with level: Keeps angles repeatable across months of work.
- Camera or phone: Modern phones are fine when used on a tripod.
- Lens choice: 24–35mm equivalent; avoid extreme wide angles indoors.
- Remote trigger/timer: Reduces shake and speeds batching.
Workflow tools
- Folder template: Project → Room → Stage (Before, Rough‑In, After).
- File naming: SSJ_Project_Room_Stage_01.jpg for easy sorting.
- Backup plan: Two locations (cloud + external drive) at minimum.
- Caption sheet: One shared doc noting materials and changes.
Case Studies and Examples (14 Mini Transformations)
Here are 14 quick, real‑world photo stories we stage and shoot across SSJ projects. Each mini case notes the goal, key change, and the “before/after” angle that best proves progress for homeowners and property managers.
- Closed kitchen to open plan: Remove a partition, add two pendants, and extend LVP. Best angle: from the former wall line showing the new sightline to dining.
- Basement suite addition: Frame bedroom with egress window, add kitchenette. Best angle: corner opposite stairs capturing living‑sleeping flow.
- Primary bath refresh: Replace alcove tub with tiled shower and niche. Best angle: door threshold straight on to show new glass and tile pattern.
- Office lighting upgrade: Swap troffers for LEDs and add accent sconces. Best angle: reception desk with ceiling grid and wall wash.
- Retail entry update: New door lite, trim, and branded finishes. Best angle: exterior‑to‑interior perspective highlighting sight lines.
- Stair safety + style: New railing, closed risers, and wall sconce. Best angle: bottom stair shooting up to emphasize lines and light.
- Laundry relocation: Stackable set moved to basement nook. Best angle: square‑on to show clearance and new venting.
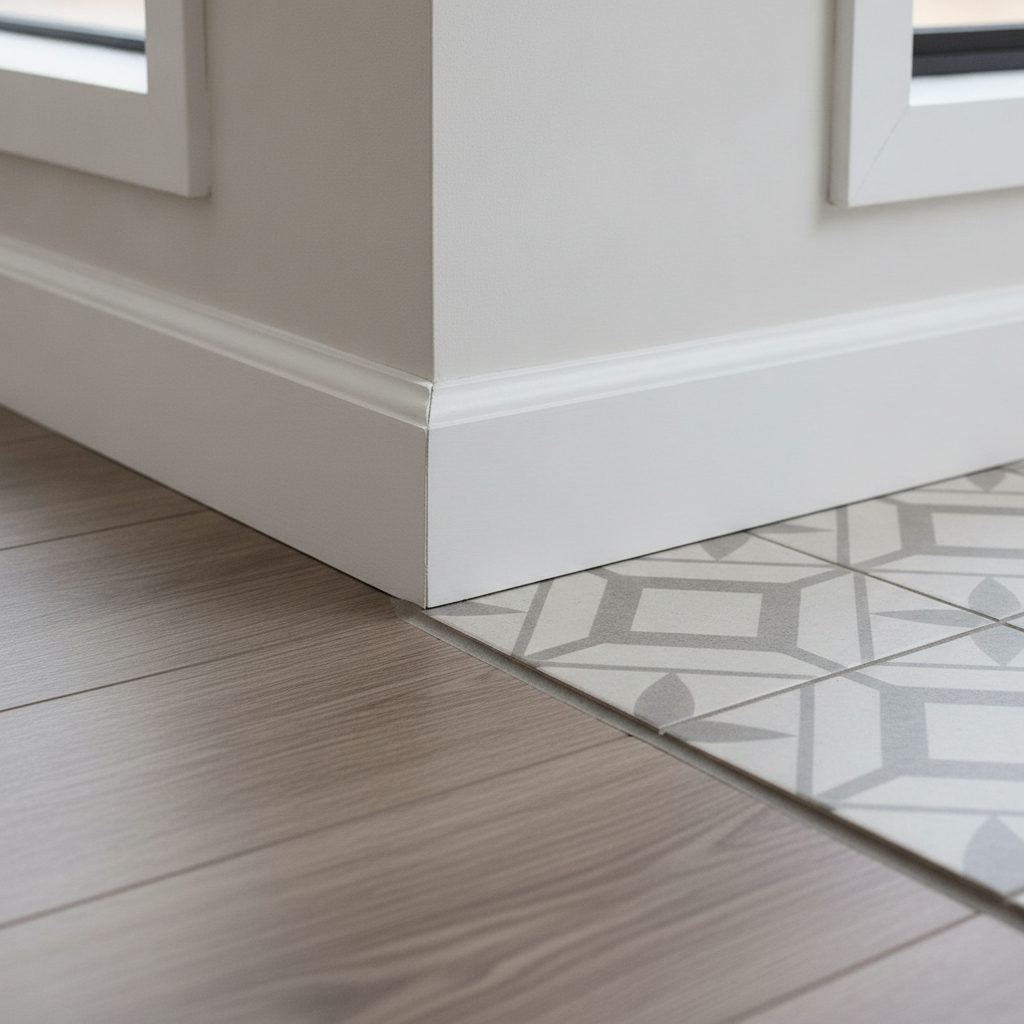
- Flooring continuity: Tile to LVP transition smoothed. Best angle: 45° detail of the transition strip and grain direction.
- Soundproofed media room: Insulation + resilient channel + solid core door. Best angle: pre‑close walls with labels, then finished door with seal.
- Pantry organization: Custom shelving and pull‑outs. Best angle: inside pantry wide with doors open for capacity view.
- Garage entry drop zone: Bench, hooks, and cubbies. Best angle: perpendicular to bench to show depth and walkway.
- Window replacement: Low‑E casements matching exterior style. Best angle: interior wide with sash lines, then exterior alignment check.
- Powder room pop: New vanity, mirror, and sconce. Best angle: straight‑on tight crop that centers the mirror and light.
- Mechanical room cleanup: Labeled runs, tidy condensate and floor drain. Best angle: 3/4 view that maps access and service points.
These examples reflect our core services—kitchen renovation and remodels, basement finishing and new development, interior painting, flooring installation, plumbing, electrical, and commercial improvements. They also map to the way people browse project galleries: room first, feature second.
Organizing and Sharing Your Portfolio
Organize photos by project, room, and stage so you can retrieve a matched pair in seconds. Use clear filenames, minimal edits, and concise captions. A tidy system makes your portfolio usable for family planning, HOA reviews, or tenant onboarding.
Folder and filename system
- Folder tree: Project → Room → Stage → Exports.
- Filename: SSJ_Meadows_Kitchen_Before_01.jpg → SSJ_Meadows_Kitchen_After_01.jpg.
- Exports: 2000–2400px long edge for fast sharing without artifacts.
Captioning made easy
- Purpose line: “Opened wall; added two pendants; new 36" range.”
- Materials line: “LVP flooring; shaker cabinets; matte black pulls.”
- Care line: “Use felt pads; wipe spills quickly.”
Where to share
- Private album: Share with family or stakeholders for selections.
- Printed leave‑behind: Keep a 1‑page summary for walkthroughs.
- Update log: Pair progress photos with milestone notes.
When every image has a place and a purpose, your gallery becomes a strategic asset instead of a camera roll black hole.
Common Mistakes and How to Avoid Them
The biggest mistakes are inconsistent angles, mixed lighting, and clutter. Fix them with a tripod, scheduled shoot windows, and a five‑item staging checklist. Keep lenses honest and edits light so finishes look real in person.
- Changing vantage points: Mark tripod feet with painter’s tape during rough‑in.
- Mixed color temperatures: Turn off cool task lights if warm lamps dominate.
- Clutter creep: Pre‑stage bins in a hallway to keep rooms clear.
- Over‑wide lenses: Avoid extreme distortion that misleads on size.
- Heavy edits: Over‑bright or smoothed textures break trust.
We see the best results when the camera work is boringly consistent. That’s what turns one‑off images into reliable before-and-after renovation photos.
When to Hire a Pro vs. DIY
If you need marketing‑grade images or have complex lighting (glass, glossy tile, dark cabinets), hire a pro. For simple documentation and matched angles, a phone on a tripod can deliver credible before‑and‑after sets with careful staging and consistent light.
| Need | DIY Phone + Tripod | Professional Photographer |
|---|---|---|
| Progress & proof | Yes—simple and fast | Optional |
| Final reveal | Good with staging | Best for publication |
| Challenging light | Limited dynamic range | Advanced lighting control |
| Editing & export | Basic adjustments | Consistent brand look |
At SSJ, we shoot most documentation in‑house and bring in specialists for portfolio campaigns when a project calls for magazine‑style storytelling.
Safety, Cleaning, and Readiness Before the Final Shoot
Schedule the reveal session after final clean and touch‑ups. Ventilate recently painted rooms, confirm all punch‑list items are complete, and stage props in advance. A clean, safe, and quiet site produces the sharpest, most honest “after” photos.
- Post‑clean timing: Photograph after the space is dust‑free and staged.
- Ventilation: Air out recently painted or caulked rooms prior to closing doors.
- Noise control: Avoid overlapping with trades; minimize foot traffic.
- Protection: Use shoe covers on new flooring to prevent smudges.
- Touch‑up kit: Keep a microfiber cloth and blue tape for quick fixes.
We treat the reveal day like a handoff ceremony. It’s the moment the work meets the camera—and the camera tells the story for years.
Turning Photos into a Project Gallery
A strong gallery groups projects by space and shows two to four matched pairs per room. Lead with the widest, most revealing angle and end with the most detailed finish shot. Keep captions brief so the images do the talking.
- Gallery order: Kitchen → Bath → Basement → Living → Exterior → Commercial.
- Pairs per space: 2–4 sets that show layout + finish highlights.
- CTA alignment: End each project with next‑step prompts (consultation, walkthrough).
- Alt text: Describe the angle and key material so images are searchable.
Homeowners in The Meadows often browse by room type first. Organizing around how people shop renovations increases clarity and confidence.
FAQ: Before-and-After Renovation Photos
These quick answers address the most common questions we hear from homeowners and property managers about planning, shooting, and organizing before‑and‑after renovation photos for kitchens, baths, basements, and offices.
How many photos should each room have?
Aim for 10–20 final images per room, with at least two strong before/after pairs from matching angles. Add 3–5 detail close‑ups to highlight craftsmanship like tile lines, trim joints, and hardware alignment.
Can I use my phone for before-and-after renovation photos?
Yes. Use a tripod, lock exposure, and shoot at the same height and position for both sets. Keep edits light and set a manual white balance so colors match across the pair.
What’s the best time of day to photograph interiors?
Shoot when the room has even light—often mid‑morning or late afternoon. If sunlight creates harsh streaks, close sheers, turn on interior lights, and balance the color temperature in‑camera.
How do I organize my files so I can find pairs later?
Use a simple structure: Project → Room → Stage, and mirror filenames: SSJ_Room_Before_01.jpg and SSJ_Room_After_01.jpg. Keep a one‑page caption sheet listing materials and layout changes.
Conclusion and Next Steps
Consistent angles, clean staging, and organized files turn photos into proof. Follow the workflows in this guide and you’ll create before-and-after renovation photos that earn trust, speed decisions, and show the real value of your remodel.
- Key takeaways: Match angles, control light, and keep edits honest.
- Workflow: Shoot at milestones from pre‑construction to reveal day.
- Organization: File by project, room, and stage with mirrored names.
Ready to plan your own gallery? If you’re in The Meadows or greater Edmonton, our licensed, insured team can handle the renovation and the visual storytelling. Book a discovery session in The Meadows and let’s map your transformation.
