
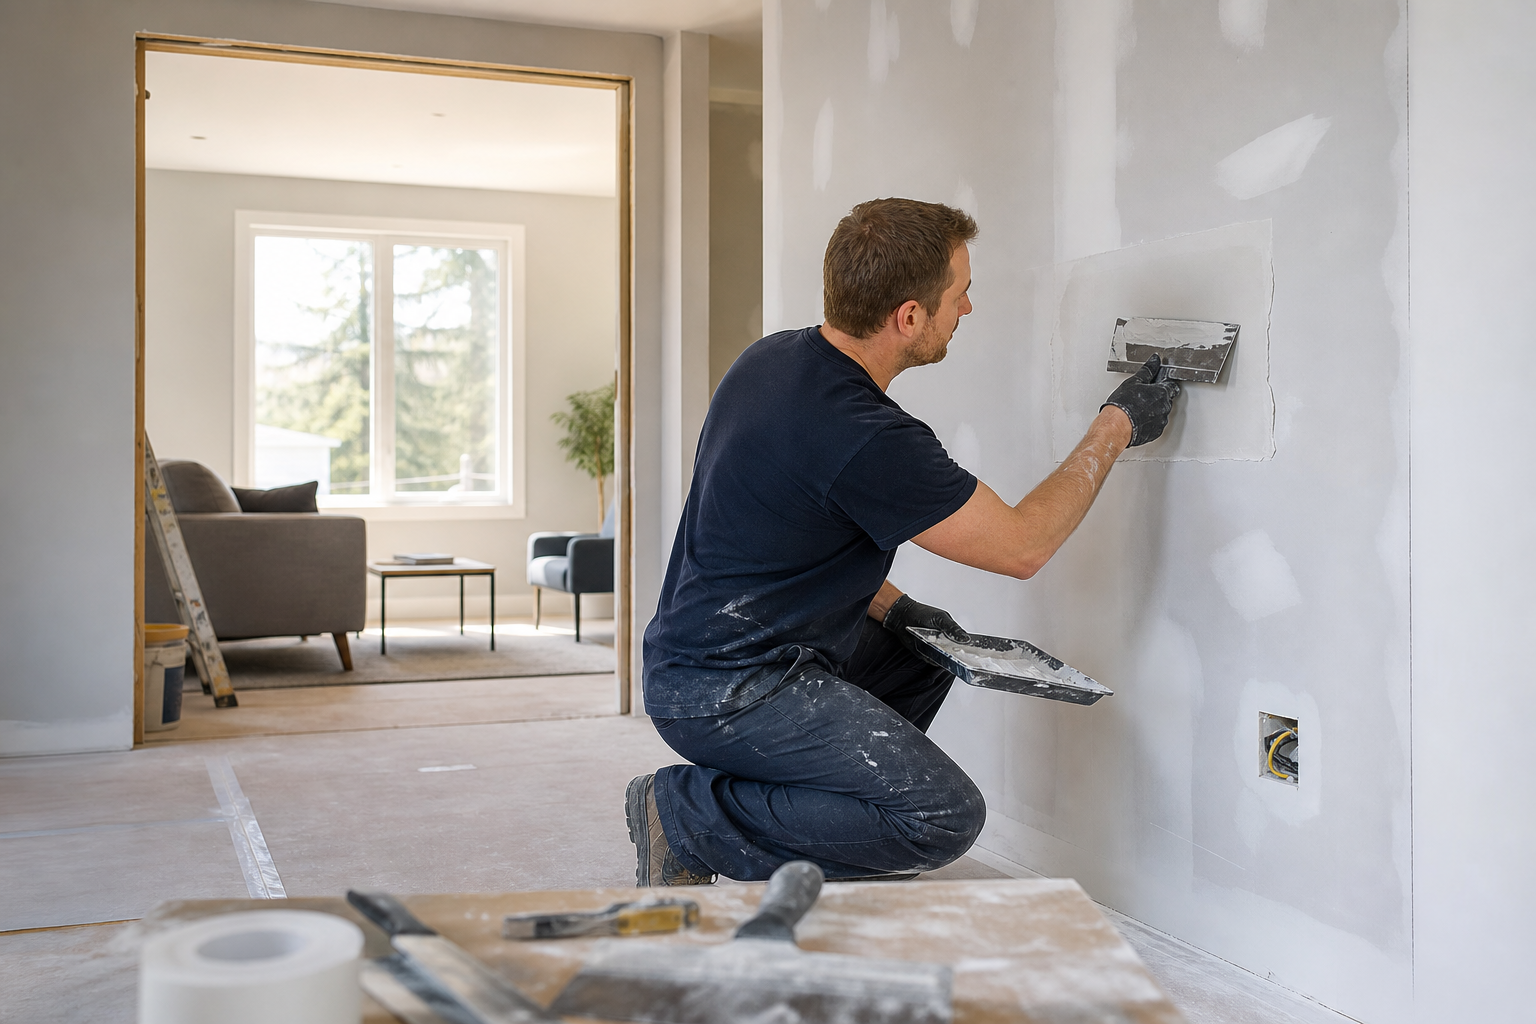
Drywall repair Edmonton: decision checklist
This checklist walks Edmonton homeowners and landlords from first glance to final hire. Follow the steps in order: triage the symptom, use conservative DIY stop points, document the damage for fast quotes, and vet contractors with exact questions and documents to request. Where helpful, the checklist points to local post-trade cutout practice and to an Edmonton service request option for licensed, insured providers.
Quick triage: classify the symptom and urgency
First, identify what you see and whether the situation is immediately hazardous. Classify the problem into one of three simple groups: cosmetic surface damage, damage with a known non-active cause, or damage tied to active water, structural movement, or exposed services.
Photo triage prompts
- Wide context shot: take one photo that shows the wall in relation to nearby doors, windows and the floor.
- Close detail: take one close photo of the hole, crack, or stain from about 30 cm (12 in).
- Measurement reference: place a ruler or a common object (phone, coin) next to the damage to show scale.
- Sequence photos: if damage spreads, take photos over several days to show progression.
- Short video: if the wall flexes, a door rubs, or you see active dripping, record a 10–20 second clip.
These photos drastically reduce back-and-forth when you request quotes and help contractors determine whether a site visit is required.
Immediate hazards to look for
- Active water: dripping, pooling, or new stains that grow daily.
- Electrical signs: sizzling sounds, burn marks, hot switches, or sparking outlets.
- Structural movement: new or widening cracks near corners, doors that jam suddenly, or sagging ceilings.
- Mould: a persistent musty smell or visible mould on or behind drywall.
If you find any immediate hazards, stop other work, contain the area if safe, and contact the appropriate licensed tradesperson. For electrical signs, switch off power to the affected circuit at your breaker and call an electrician. For active leaks turn the shutoff for the water source if it is safe to do so. Do not attempt cosmetic patching until the source is fixed.
When to stop taking action
Do not attempt a repair if you cannot confirm the cause or if any of the immediate hazards above are present. Stopping prevents hidden damage from being sealed in and avoids safety risk from live electrical wiring, active leaks, or structural failure.
DIY limits and explicit stop points before you try a repair
Many homeowners can complete small cosmetic repairs, but set clear, conservative stop points. Use the checklist below as a practical decision aid: proceed only when every item in the left column is true; hire a professional if any item in the right column applies.
- Reasonable DIY patch: plastering surface cracks under 1 cm wide, fixing nail pops, hairline ceiling cracks, single small dents or holes smaller than 2.5 cm (about the diameter of a pencil eraser), and dry, stable surfaces with no active leaks or mould.
- Hire a pro: holes larger than an electrical outlet box, active or suspected water damage, visible mould, damage revealing insulation or framing, holes where electrical or plumbing access exists, sagging ceilings, or any repair that requires matching paint or texture across a broad area.
Be conservative. If the hole is the size of an outlet or larger, or if the cutout exposes pipes or wiring, call a professional. Contractors regularly handle post-trade cutouts and clean finishes for outlet and access openings that homeowners often cannot match.
Post-trade cutouts and utility access repairs: what to expect
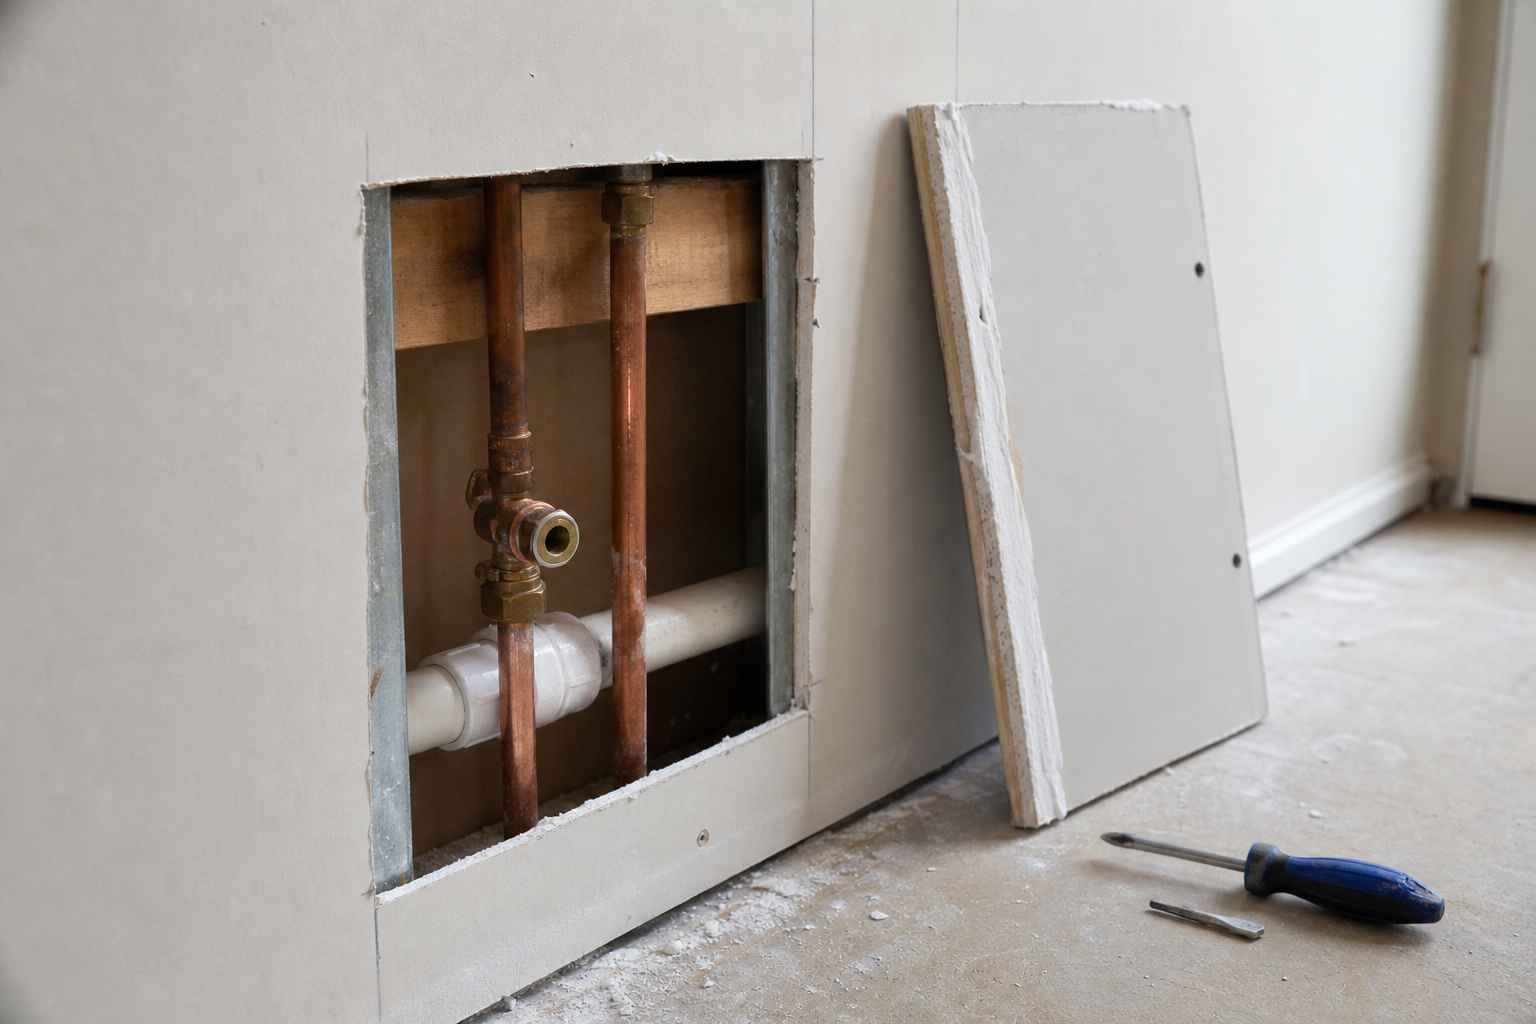
Post-trade cutouts occur when trades cut drywall to access services and then the opening needs a clean, finished repair. Local contractors list typical small openings such as standard outlet box cutouts, switch box openings, and access panel cutouts for utility access behind walls. These often require precise backing and texture work to look right.
Common cutout sizes and repair steps to request in writing
- Standard outlet or switch box cutout (approx. 2" x 3"): request patching, feathered compound to match surrounding texture, sanding, and paint touch-up to blend edges.
- Access panels or larger rectangular cutouts: request backing or framing where needed, new drywall installation, taped joints using paper or mesh, two finish coats, sanding, priming, and paint.
- Ceiling repairs and textured finishes: ask for the specific texture match method and note that texture matching can require several experimental passes before final paint.
Ask contractors to list these repair steps in the written estimate so you can compare apples to apples. Innovation Drywall documents typical post-trade cutout practice and finishes that contractors commonly provide for these situations.
How to photograph, measure and document damage for a fast quote
Good documentation speeds quotes and reduces unnecessary site visits. Use this ordered checklist when you prepare your photo packet.
- One wide photo showing the room, wall, and nearby fixtures.
- Two close photos: one straight on, one at a 45-degree angle to show depth and texture.
- Include a ruler or standard object in a close photo to show exact size.
- Note the date you first noticed the damage and the suspected cause (impact, leak, trades cutout, settling).
- If water is involved, include a short video showing active dripping or indicate when the leak last occurred.
- List any related trades recently on site (plumber, electrician, HVAC) and include their repair tags or notes if available.
For a printable checklist you can follow or hand to a contractor, refer to standard DIY triage formats used for drywall repairs in published checklists.
Contractor vetting checklist: questions to ask and documentation to request

When you contact contractors, use the same packet of photos and ask for a written estimate that answers the items below. This block is ready to copy and paste into an email or message; attach your photo packet and any short video clips.
Please confirm in writing:
1. Proof of general liability insurance that covers work in Edmonton and the project address.
2. A line-item written estimate listing labour, materials, drywall type and finish, texture matching, and paint preparation.
3. Timeline with start date, key milestones, and expected completion date.
4. Warranty or satisfaction guarantee terms and duration for both materials and workmanship.
5. References or photos of recent similar repairs in Edmonton.
6. Payment terms and any deposit required; no cash-only or unusually large upfront deposits.
SSJ Construction & Renovations is a licensed and insured local provider that offers free quotes and a transparent estimate process. If you are ready, submit a service request with your photo packet to start the line-item estimate process.
Red flags and common contractor traps to avoid
- No proof of insurance: if a contractor refuses to provide the insurance certificate or the document is out of date, do not proceed.
- Vague or verbal-only quotes: walk away if they will not put scope and price in writing.
- Large cash-only deposits: standard practice is a reasonable deposit and staged payments tied to milestones; avoid cash-only demands.
- No warranty or short unclear guarantees: ask how touch-ups are handled if texture or paint does not match after completion.
- No references or portfolio: local providers commonly show before and after photos and client references; lack of evidence is a warning sign.
If you encounter a red flag, ask for clarification in writing. If the answer is unsatisfactory, obtain another quote. Reviewing a couple of local service pages and portfolios helps you judge the detail level in estimates and the contractor's attention to finish.
Step-by-step decision flow and what to expect after you request a quote
- Triage and document damage using the photo packet above.
- If the problem is safe to DIY, attempt a small patch with appropriate safety gear. Stop immediately if you uncover hidden issues such as wet insulation, wiring, or mould.
- If you need help, request written quotes from at least two contractors and include your photo packet and any short videos.
- Compare line items, warranty, start date and payment schedule. Confirm insurance coverage and check references or recent photos of similar work.
- Accept the estimate that is clear, insured, and offers a reasonable timeline. Sign a contract that matches the written estimate and keep a copy for your records.
- Expect contractors to confirm a start date, perform the work, allow for drying times between joint compound and paint coats, and then finish with sanding, priming, and paint touch-ups as specified. For post-trade cutouts, expect the contractor to supply framing or backing if required and to list texture matching steps in the scope.
When you are ready to request a professional quote from a licensed, insured Edmonton team that provides transparent, line-item estimates, submit a service request or contact the provider directly for a free line-item estimate.
Frequently asked questions
Can I patch a small hole myself or should I hire someone in Edmonton?
You can patch small, dry, cosmetic holes under about 2.5 cm with a basic patch kit if there is no sign of water, mould, exposed services, or structural damage. Use lightweight joint compound and a small mesh patch for clean results. Stop and call a contractor if the hole is larger, shows insulation or framing, or if you suspect water or electrical involvement.
When is water-damaged drywall a contractor job rather than a DIY fix?
If the damage is from an active or recent leak, if the drywall is soft or crumbling, if you detect mould, or if the leak source is unknown, hire a contractor to diagnose and repair both the source and the drywall. Patching before the source is fixed can hide ongoing damage and create health risks from mould.
What exactly is a post-trade cutout repair and will it hide electrical or plumbing access?
A post-trade cutout repair restores drywall after a trade cuts an access hole for repairs or installations. Standard repairs include backing or framing where needed, taping, two finish coats, sanding, and paint preparation. Repaired access panels should be noted in the scope; do not expect contractors to permanently seal functional access without discussing future access needs. Local post-trade repair practice describes standard outlet box and access panel repairs and finish expectations.
What should a written drywall repair estimate include so I can compare bids?
Ask for a line-item estimate listing labour, materials, drywall type, number of finish coats, texture matching steps, paint preparation, timeline, warranty terms, and payment schedule. This lets you compare bids fairly and spot missing items or lowball quotes.
How quickly should a contractor start work after I accept a drywall repair quote?
Start dates vary with workload and season; expect a confirmed start date in writing and a short scheduling window. If timing is critical, ask for an expected start date before signing and confirm milestones in the contract. Minor repairs typically require only a day or two on site but allow for drying between compound and paint coats.
Ready to request a quote from a licensed, insured Edmonton renovation team that provides transparent, line-item estimates? Submit a service request to begin the process with SSJ Construction & Renovations.
